Vintage Photoshoot | Cary North Carolina Photographer

Approaching any photoshoot for me requires a bit of planning and this one was no different. In order for my creative juices to flow I need something for my mind to focus on.
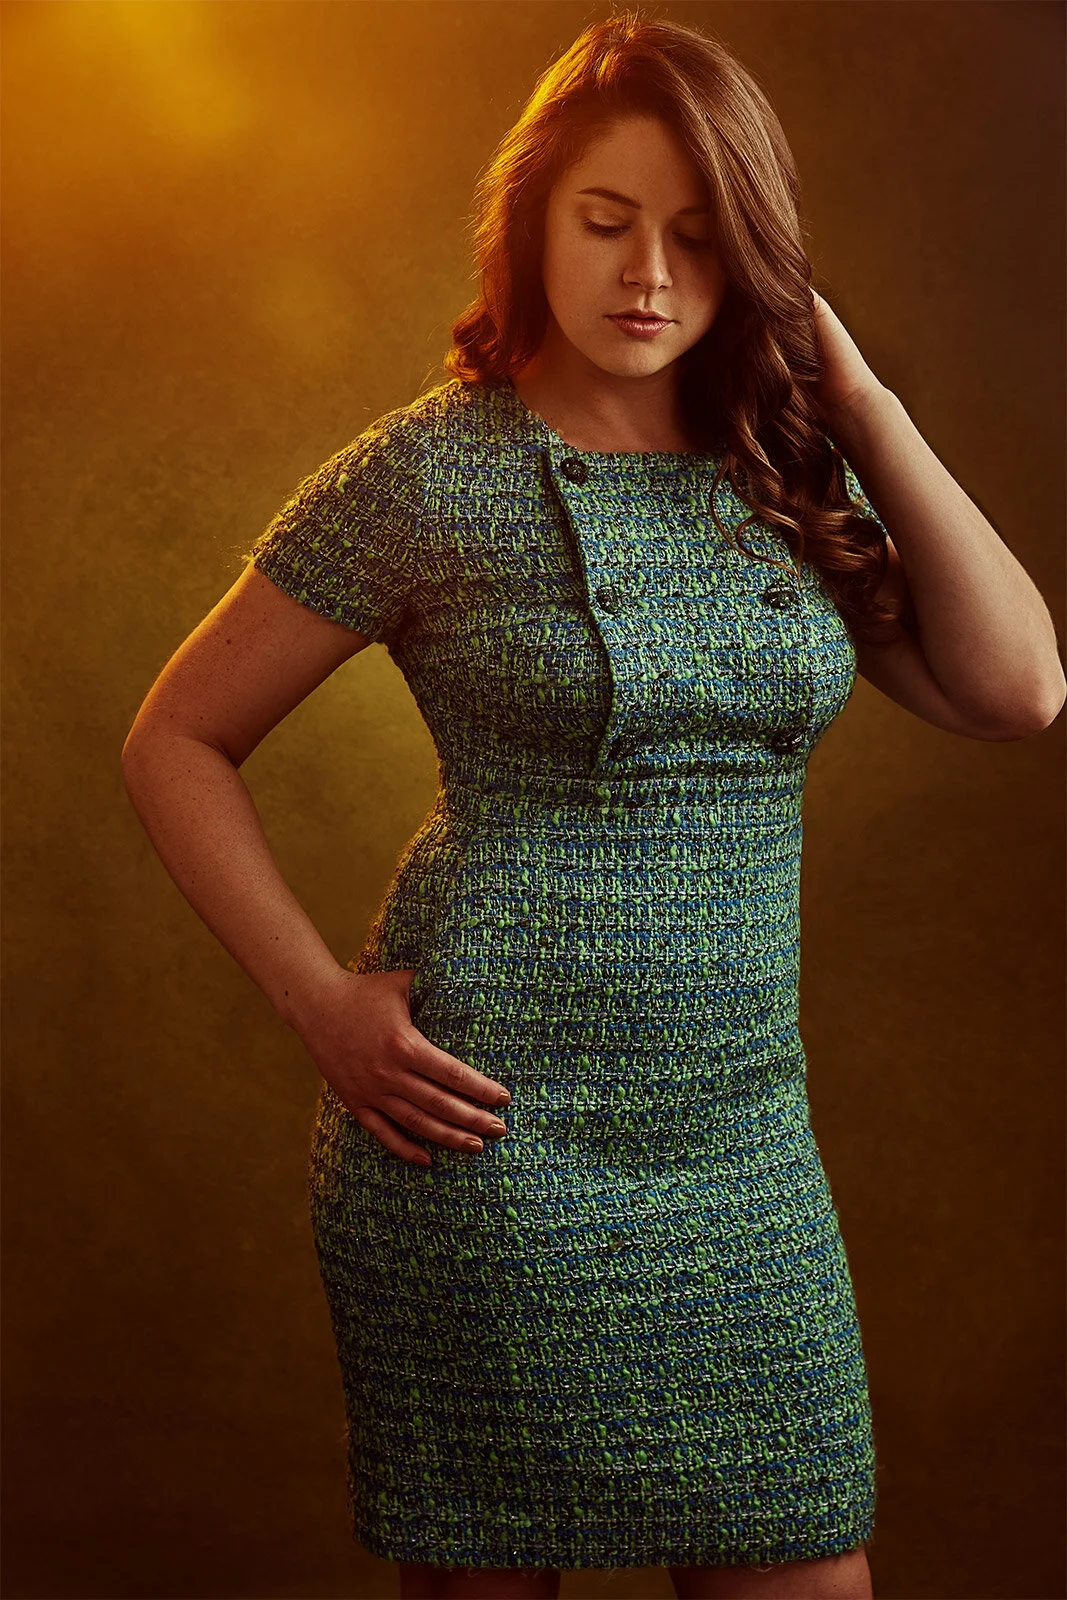
Hand Painted Backdrop is a company based in the UK and as the name of the company implies they supply hand-painted backdrops. The owner of the company is very nice and easygoing. After communicating via IG for a little bit he agreed to send me one hand-painted backdrop. What I love about the backdrops he supplies is that he puts care and attention in creating them which means the quality is great. In addition, the backdrops have a very vintage look and feel to them which I absolutely love.
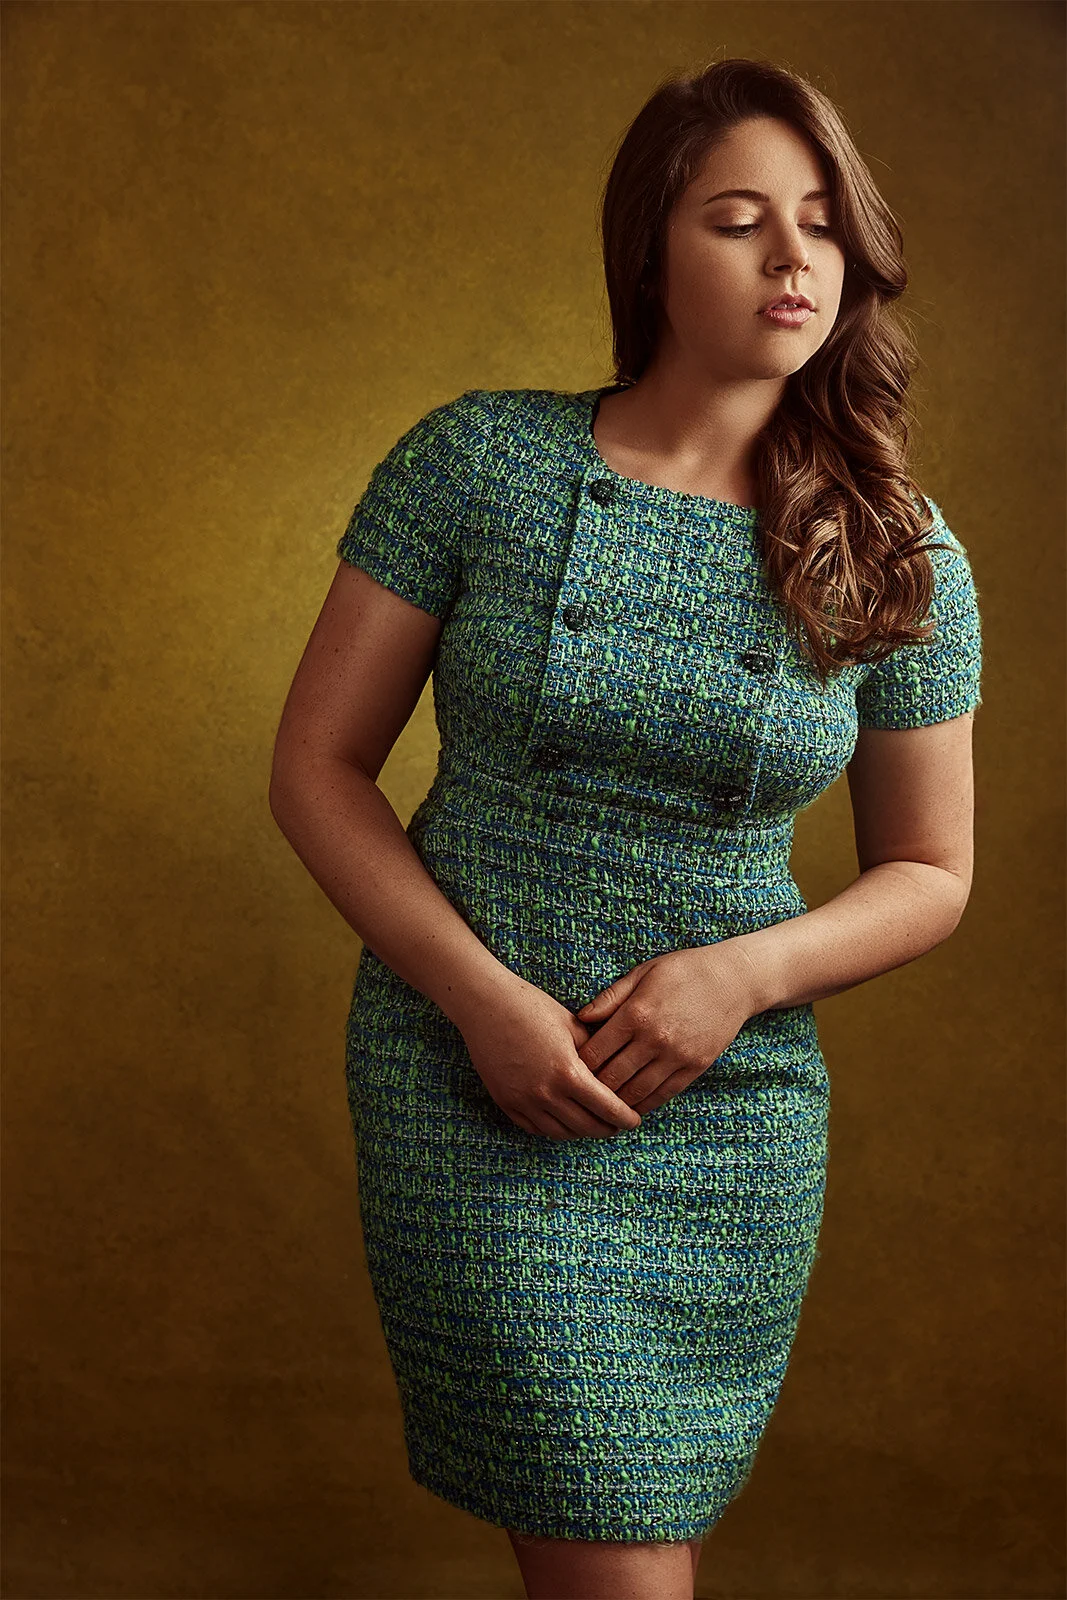
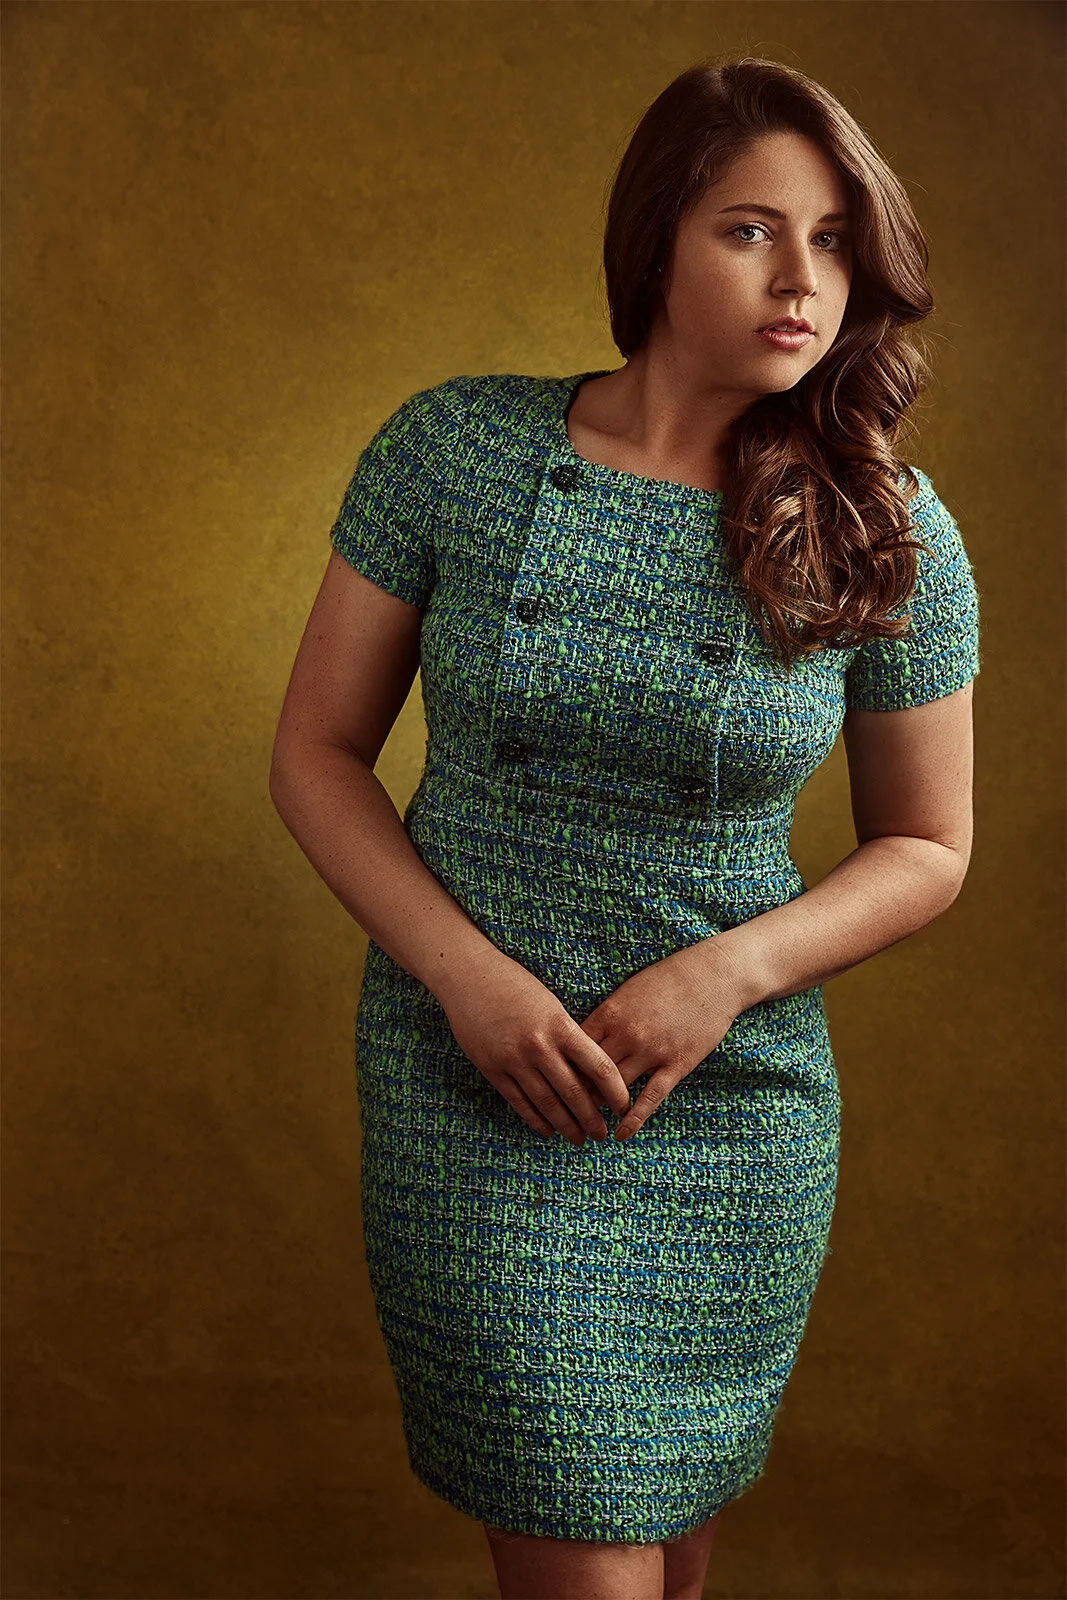
So once I received the backdrop I was able to lock in on a theme for the photoshoot which was vintage. My first step was to obtain the wardrobe so I went to a thrift store to pick up several items but the one specific to this photoshoot was the green dress. The dress only cost me $7 USD which was a great price but looking at it you may think it costs more than $7 USD.
On the day of the photoshoot, I decided to do 3 different lighting setups. On the first lighting setup, I decided I wanted a very large soft light camera right. I then added a reflector camera left of the subject to help fill in the shadows. The next light added in was a light pointing away from the subject towards the white walls in my garage to help fill in the shadows on the subject. The last light I added for this first setup had a 7-inch reflector facing the backdrop to help add a bit of separation between the subject and the background.
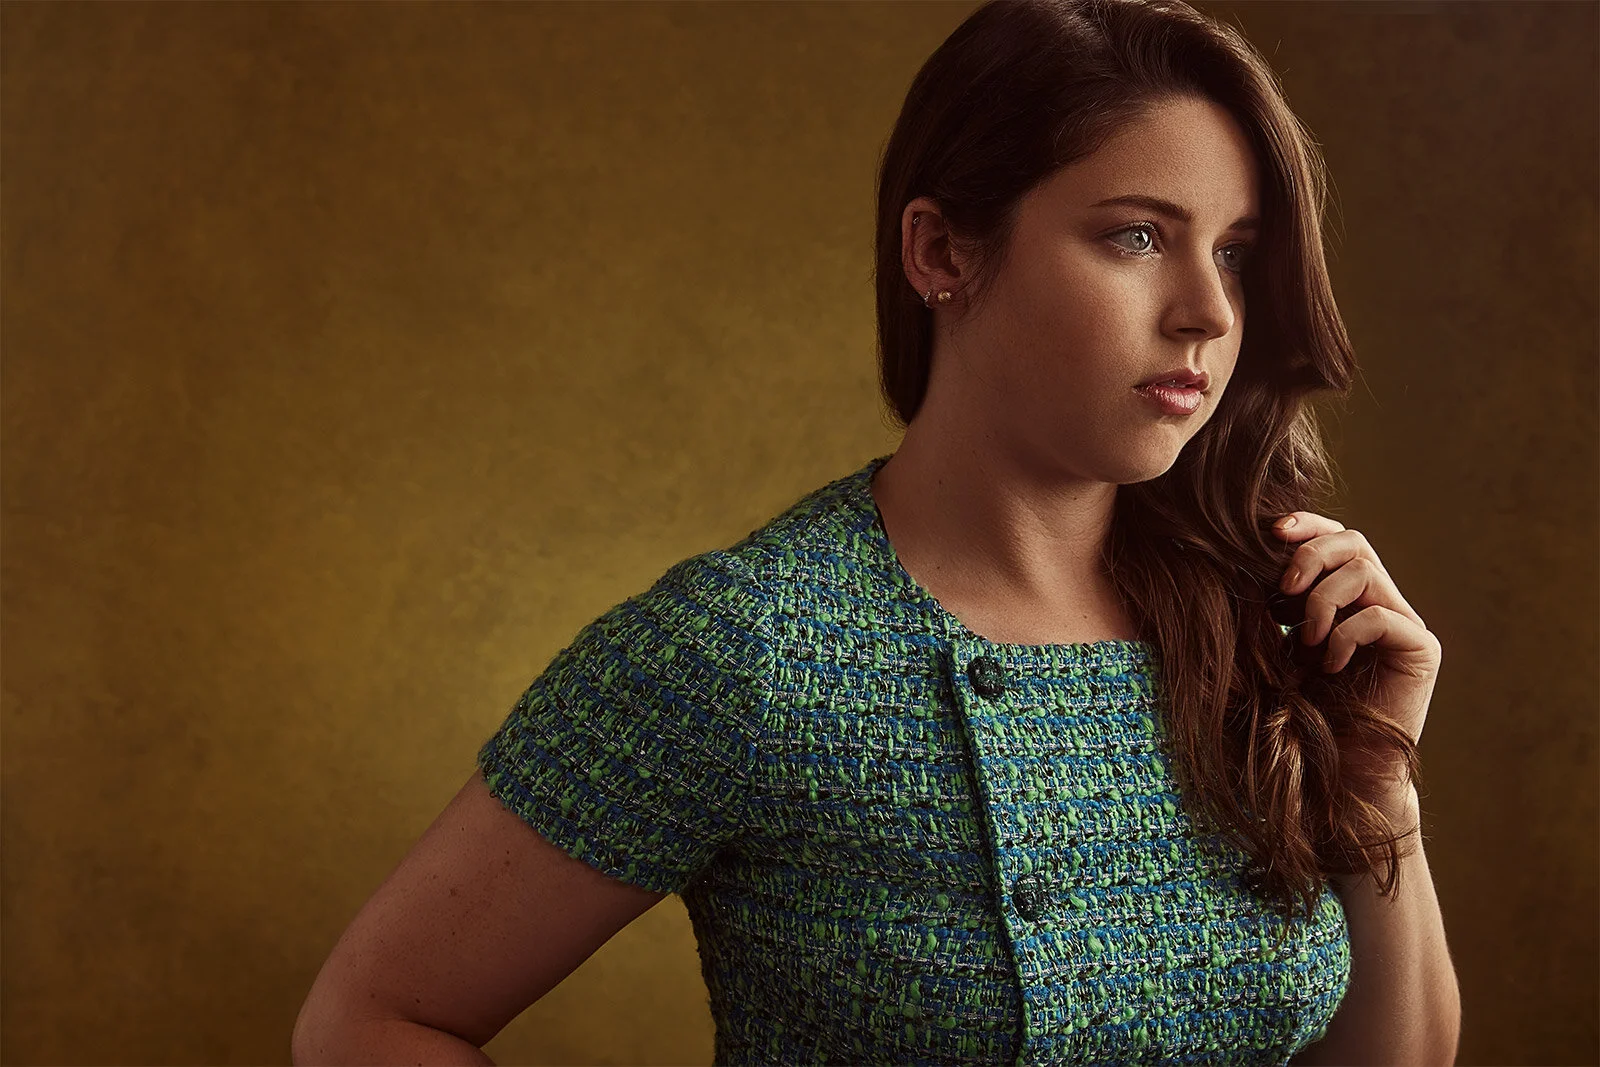
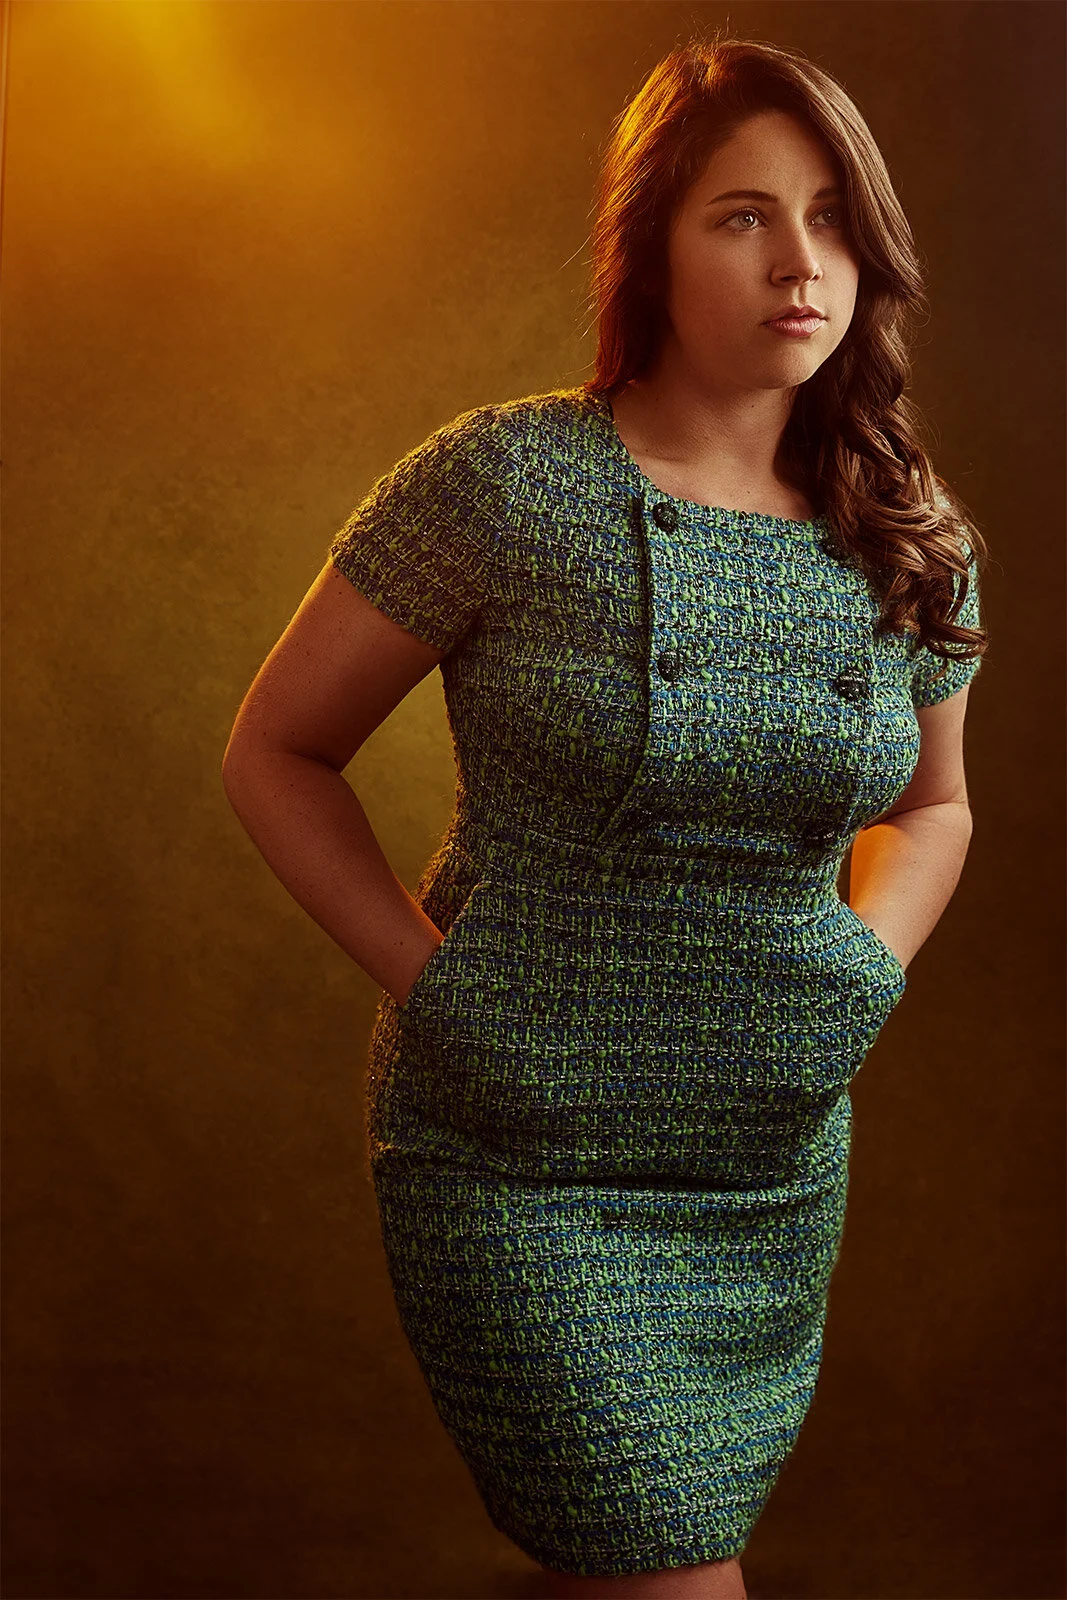
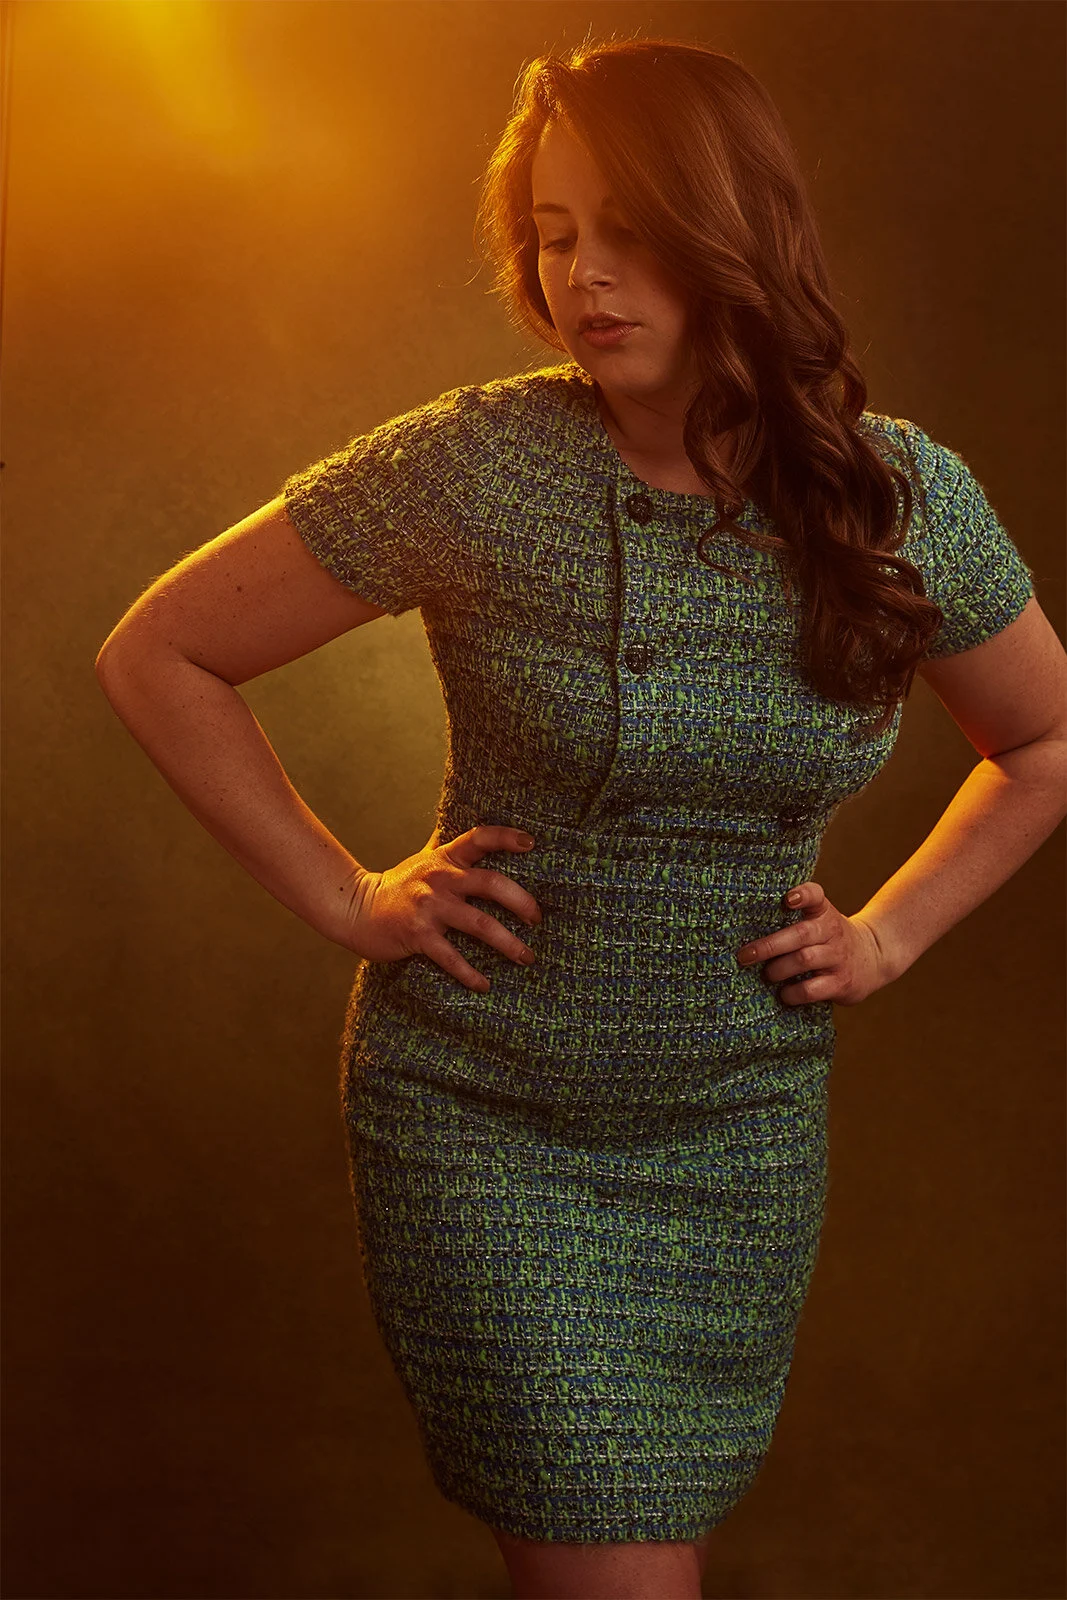
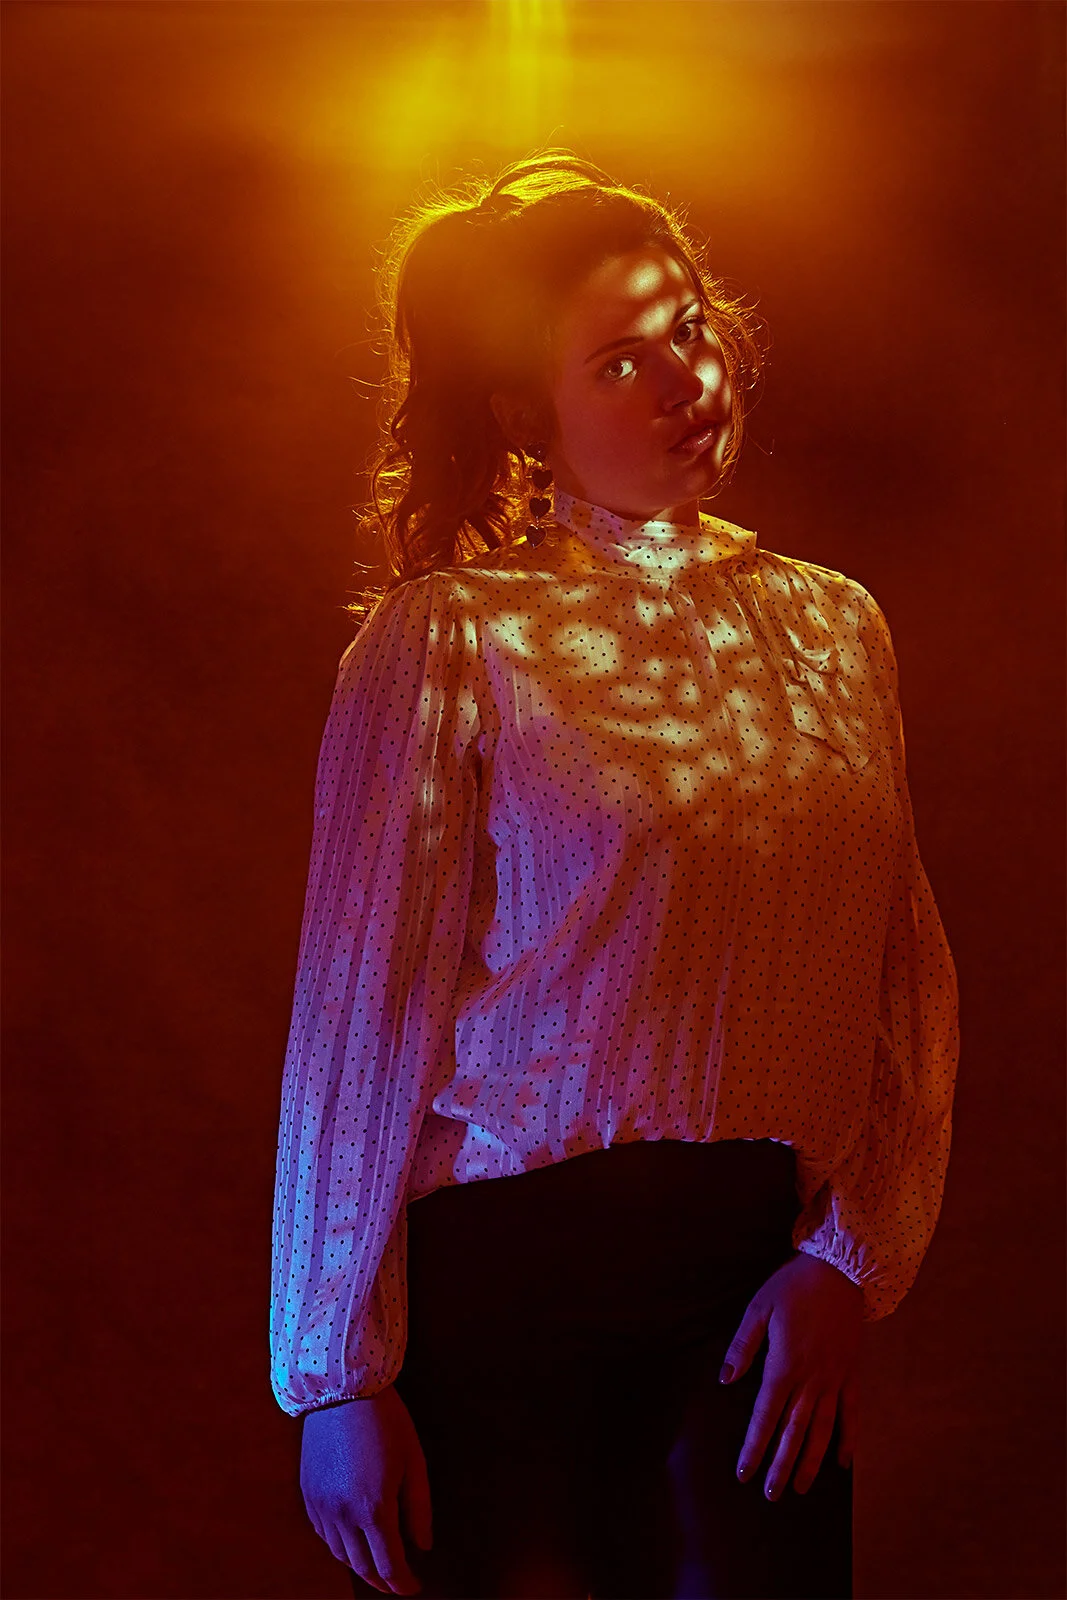
On the second set up all the lights from the previous setup were pretty much in the same position. However, I moved the background light to camera right as oppose to camera left because it was casting a shadow from the additional light I added. The additional light I added had a 7-inch reflector with a CTO gel aimed at the subject to add a bit of hair light and a light flare in the camera.
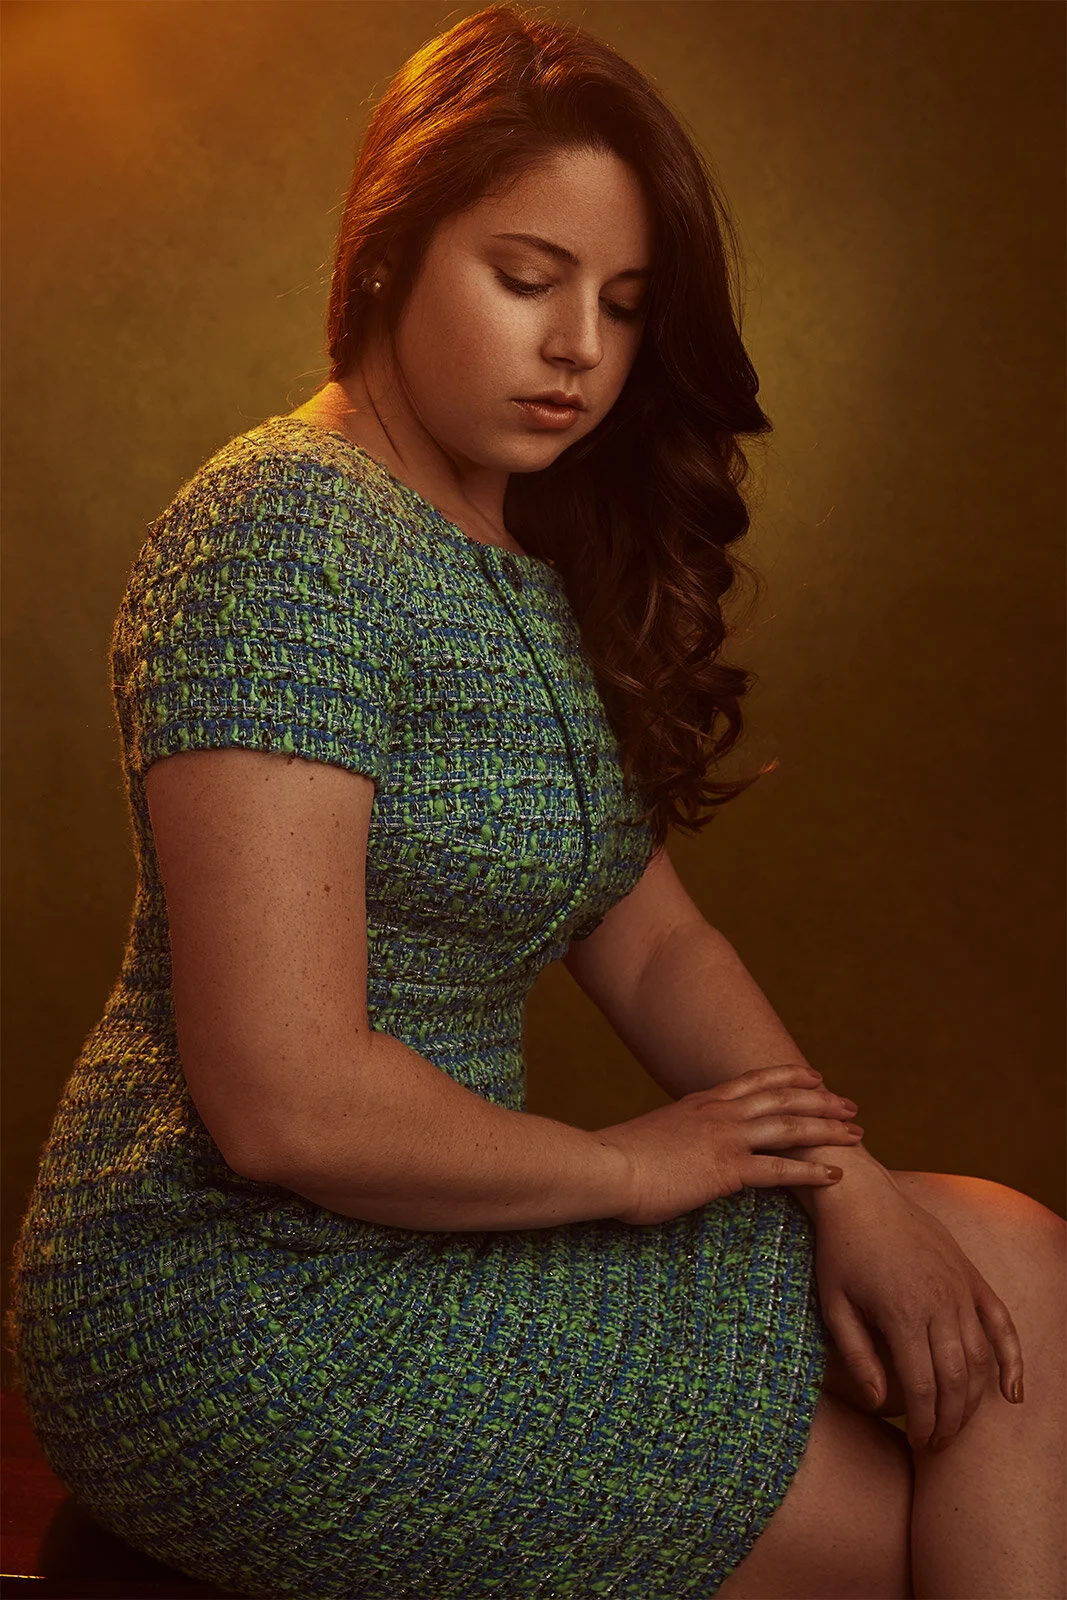
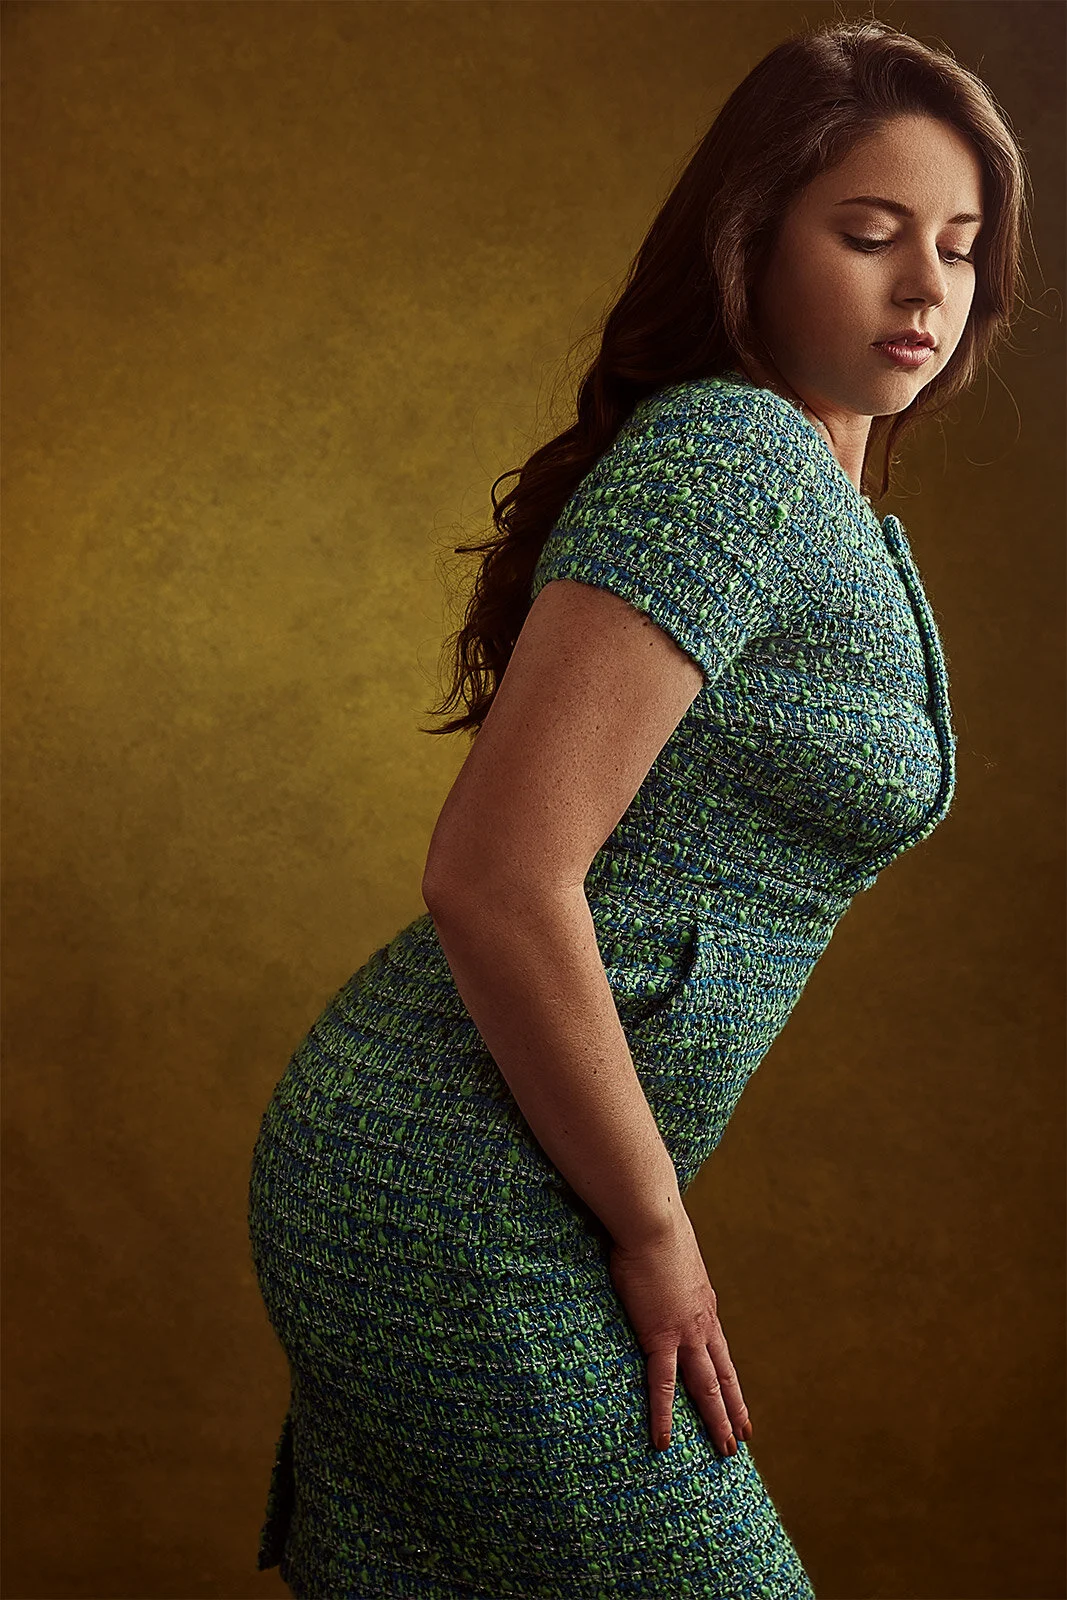
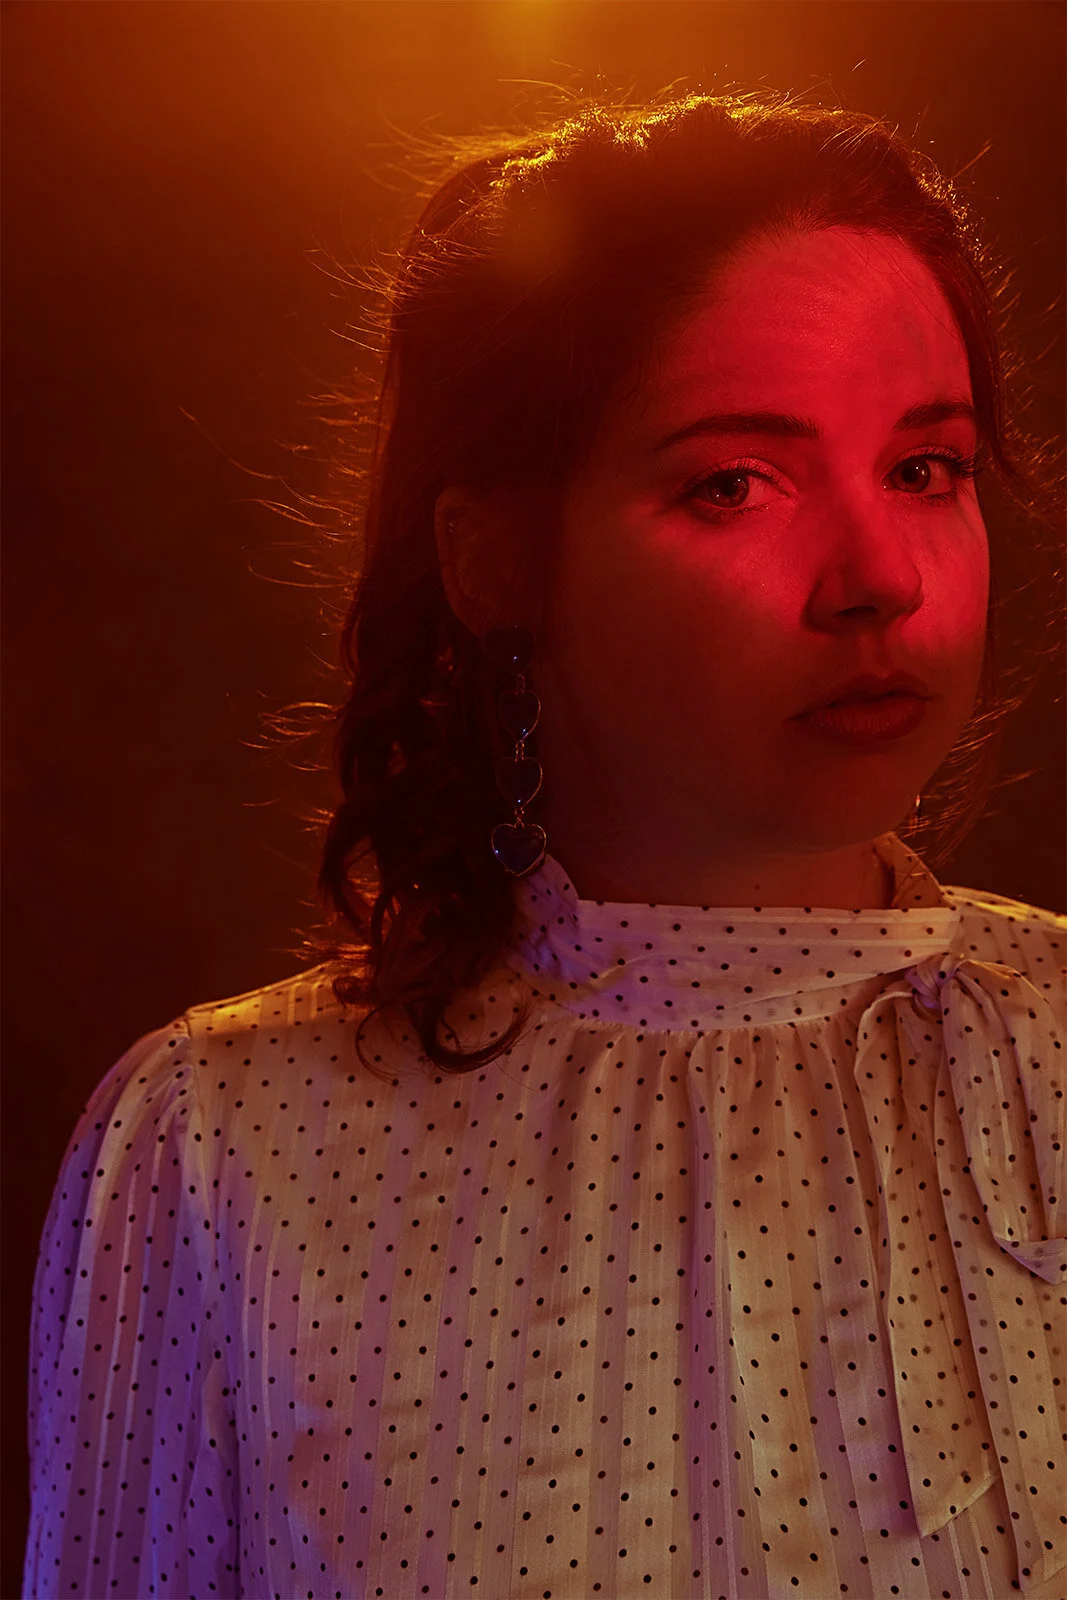
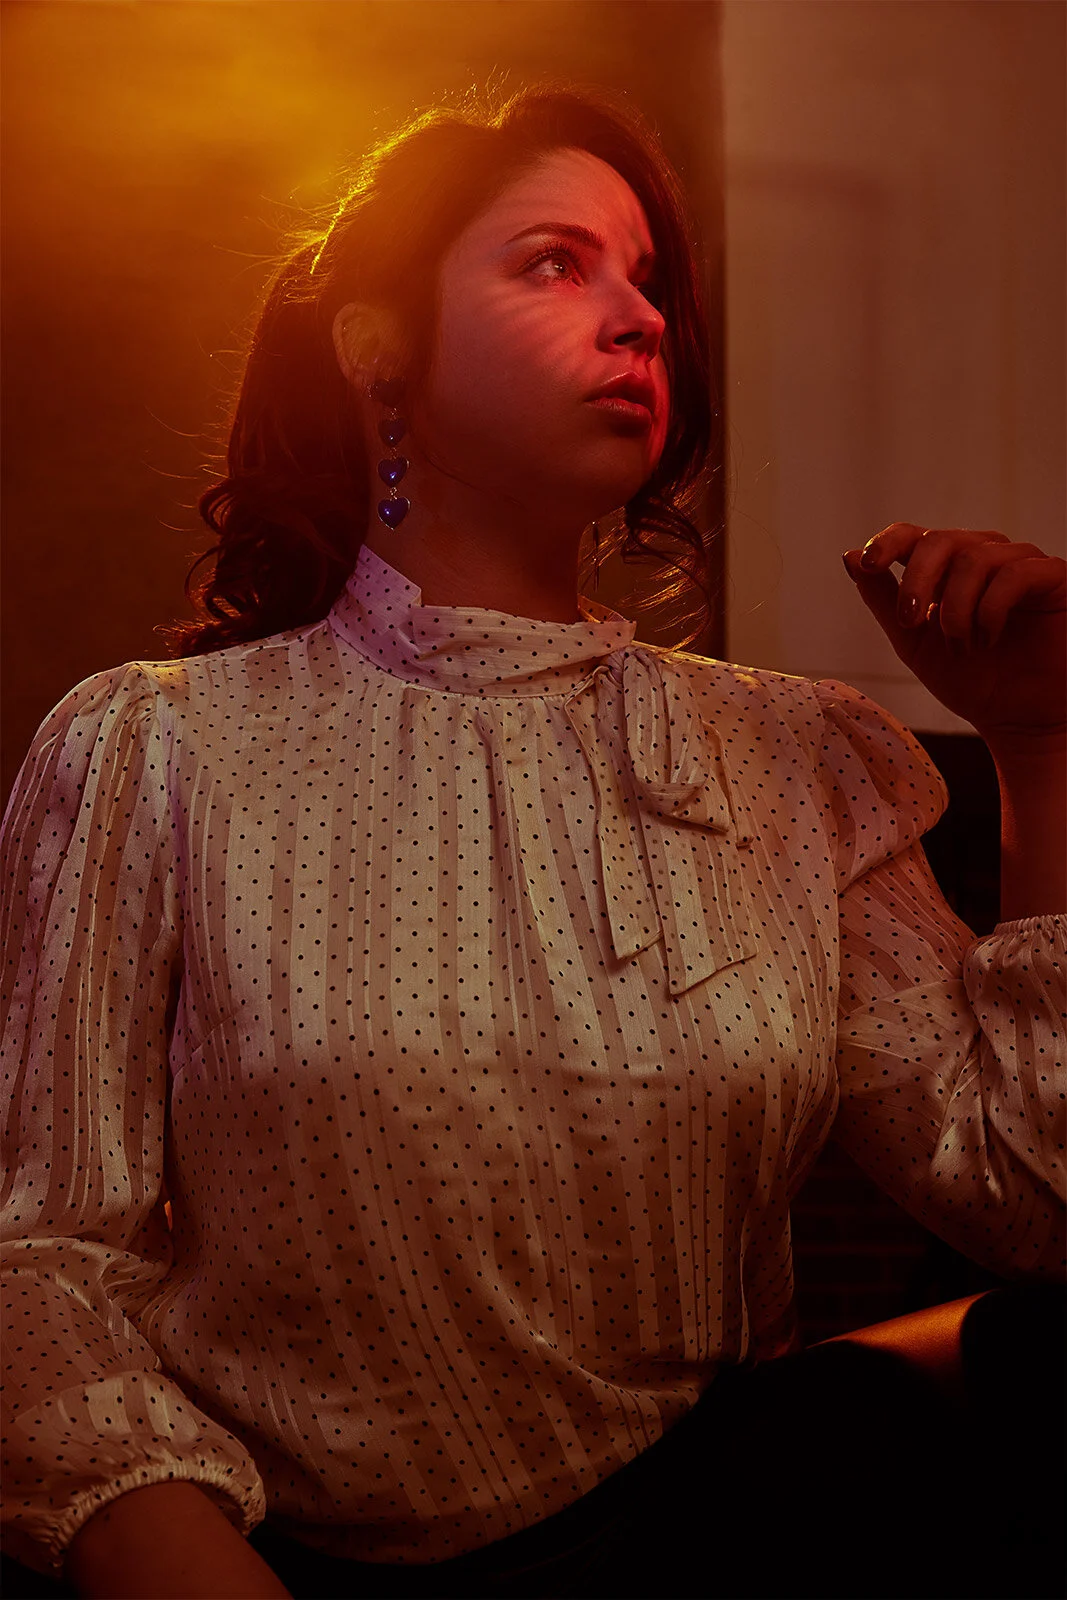
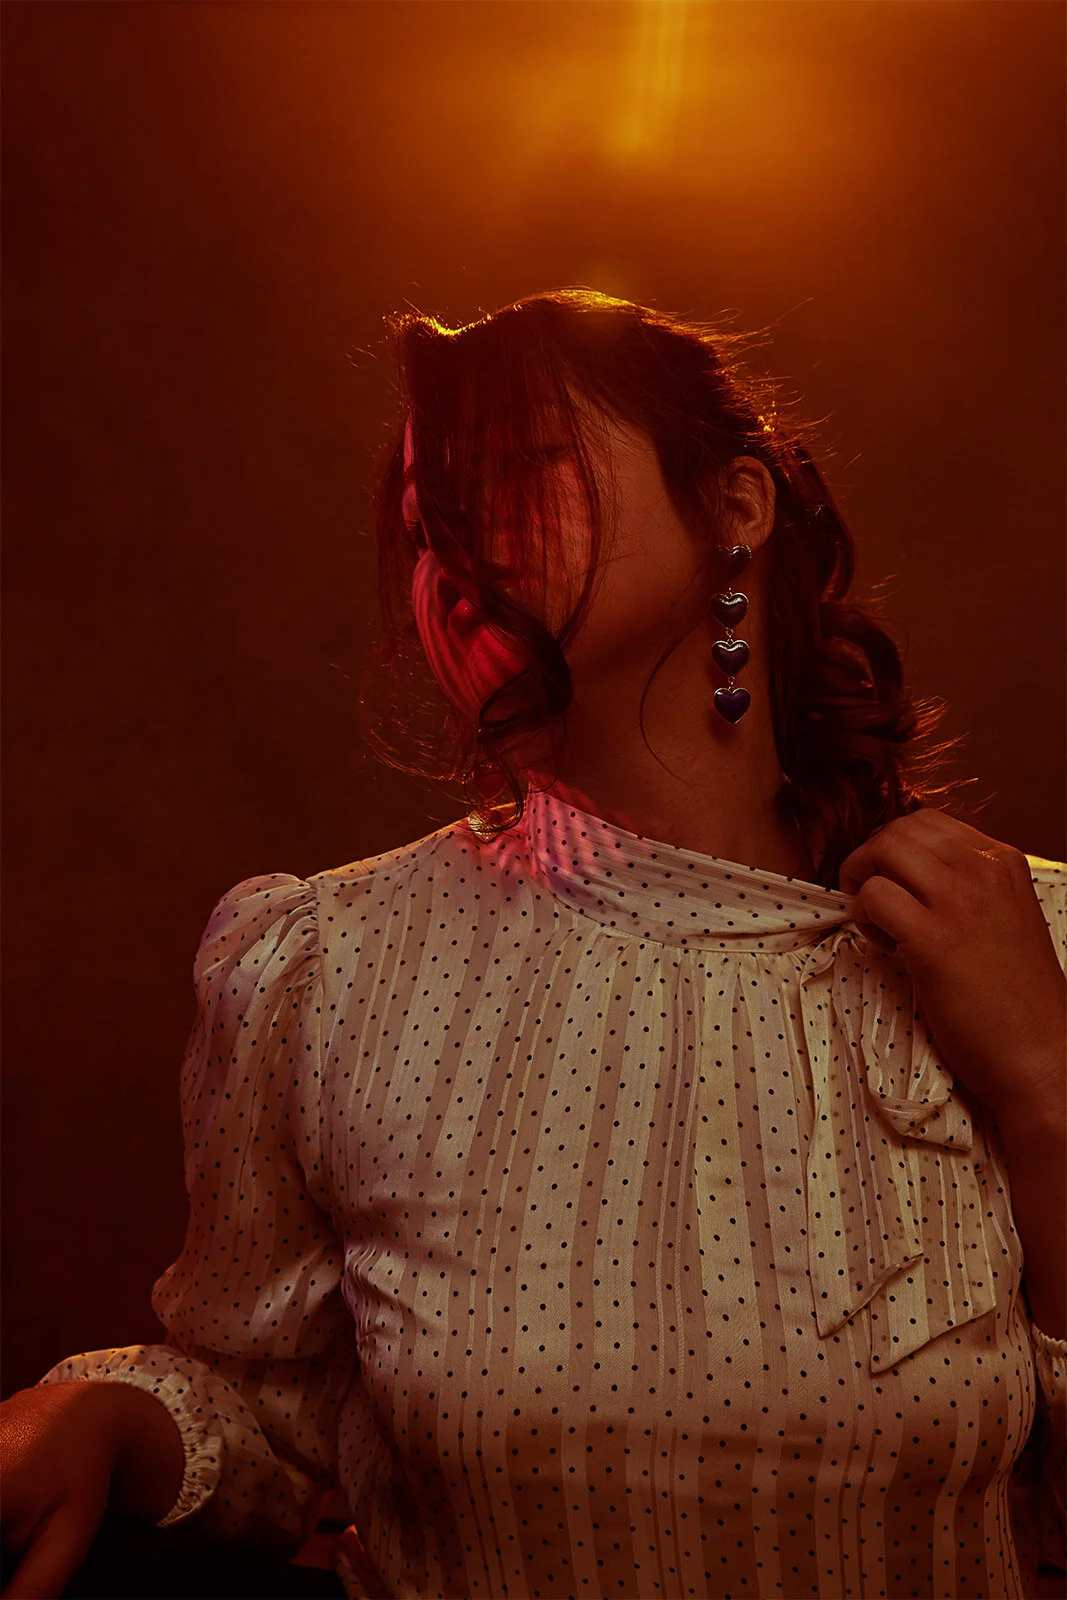
Now the final setup was just me experimenting. On this final setup, I decided to do a 3 light setup. I first removed the large soft light and replaced it with the AMBITFUL modifier to focus the light and added a gobo so the light can be focused on the subject's face. The next light I added was behind and above the backdrop aiming at the subject's hair with a CTO gel. The final light had a blue gel position camera left directly aiming in the lower section of the subject to help fill in the shadows.

Thank you to Ashley Brooke Denton for working with me on this photoshoot. She’s amazingly talented and I always enjoy working with her to help build her portfolio.